|
Living Room |
|
Photo |
Location |
Label and Description |
 |
First Floor |
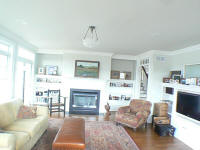
Cabinets
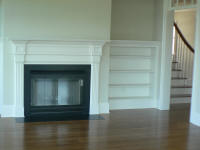
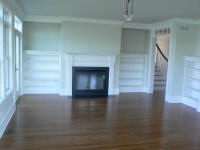
Custom cabinets manufactured by Cleaver Construction
are installed on both sides of the fireplace. |
 |
First Floor |
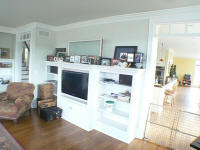
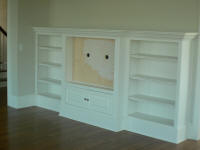
Cabinets
Custom cabinets surround a built in flat screen
television. |
 |
First Floor |
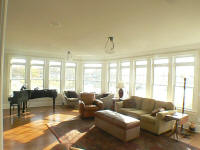
Windows
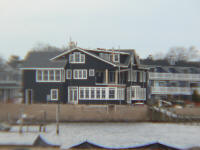
The
living room features Anderson windows with transom windows above
them. The windows provide a panoramic view of the water. |
 |
First Floor |
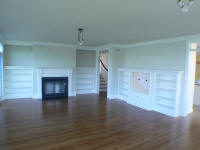
Cabinets - (Repeat)
Custom cabinets manufactured by Cleaver
Construction are installed on both sides of the fireplace. |
 |
First Floor |
Cabinets - (Repeat)
Custom cabinets surround a built in flat
screen television. |
 |
First Floor |
Cabinets - (Repeat)
Custom cabinets manufactured by Cleaver
Construction are installed on both sides of the fireplace. |
 |
First Floor |
Cabinets - (Repeat)
Custom cabinets manufactured by Cleaver
Construction are installed on both sides of the fireplace. |
|
Construction Process |
|
Photo |
Location |
Label and Description |
 |
Back |
Framing
This is the framing of the first, second and third
floor. |
 |
Right Side
|
Tar
Paper This photo shows Anderson windows and thirty pound felt
prior to the siding being installed. |
 |
Foundation |
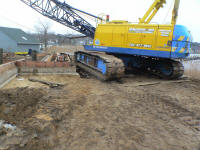
Piles
In this photo, the piles are being driven to lay the
foundation for the home.
|
 |
Foundation |
Piles - (Repeat)
In this photo, the piles are being driven to
lay the foundation for the home.
|
 |
Foundation
|
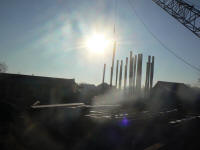
Flag
Once the flag is raised, it indicates that the piling
process is complete. |
 |
Foundation
|
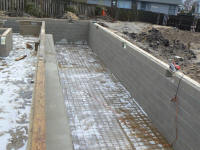
Slab
The plastic and wire has been installed for the slab to
be poured in the basement. |
 |
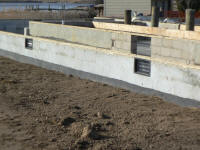
Foundation
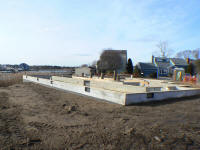
 Complete
At this stage, the foundation is complete
and the property is graded. |
 |
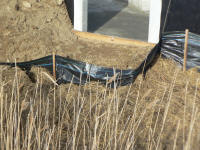
Foundation
 Complete - (Repeat)
At this stage, the foundation
is complete and the property is graded. |
 |
Back
|
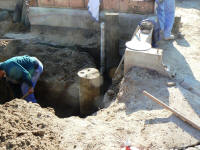
Silt Fence
This silt fence is installed to prevent any runoff
of dirt from the construction site to the wet lands.
|
 |
Foundation |
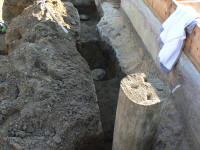
Excavation
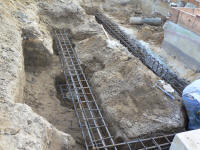
This is the excavation of the footings with piles
already installed. |
 |
Foundation
|
Excavation - (Repeat)
This is the excavation of the footings
with piles already installed. |
 |
Foundation |
Steal Installation
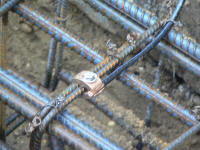
In this photo, the steal is installed in
the footings prior to concrete being poured. |
 |
Foundation
|
Steal Installation - (Repeat)
In this photo, the steal is
installed in the footings prior to concrete being poured. |
 |
First Floor |
Deck
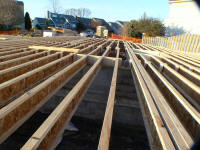
This photo is of the TJI's in the first floor
deck. |
 |
First Floor
|
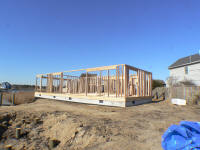
Frame
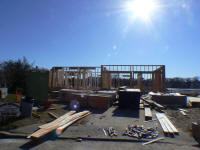
This photo is of the first floor frame under
construction. |
 |
First Floor
|
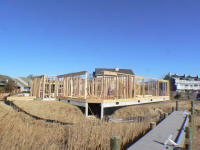
Frame - (Repeat)
This photo is of the first floor frame under
construction. |
 |
First Floor
|
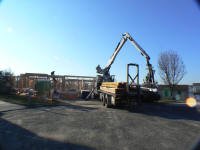
Frame and Silt
This photo is of the first floor frame. The
silt fence is surrounding the wetland property line. |
 |
First Floor
|
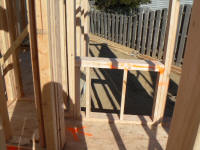
Frame - (Repeat)
This photo is of the first floor frame under
construction. |
 |
First Floor
|
Frame - (Repeat)
This photo is of the first floor frame under
construction. |
 |
First Floor
|
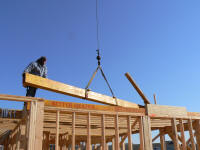
Crane
The crane is setting in the main beams to support the
floors above it. |
 |
First Floor
|
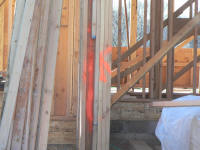
Frame - (Repeat)
This photo is of the first floor frame under
construction. |
 |
Back |
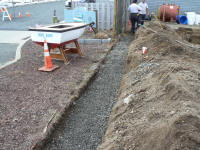
Retaining Walls Base
This is the base for the retaining walls
which surround the back of the property. |
 |
Back |
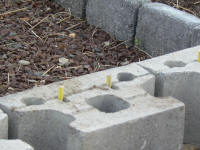
Retaining Wall
This photo is of the first blocks of the
retaining wall being set on the retaining wall base. |
 |
Back |
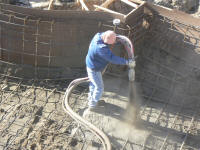
Pool Construction - Gunite
This is the photo of the steel for
the pool. This worker is spraying gunite. |
 |
Back |
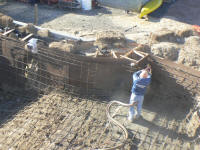
Pool Construction - Gunite - (Repeat)
This is the photo of the
steel for the pool. This worker is spraying gunite. |
 |
Back |
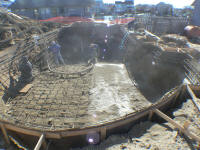
Pool Construction - Gunite - (Repeat)
This is the photo of the
steel for the pool. This worker is spraying gunite. |
 |
Back |
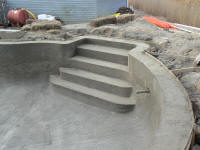
Pool Construction - Steps
These are the steps for the pool
after it was sprayed with gunite. |
 |
Right Side & Back |
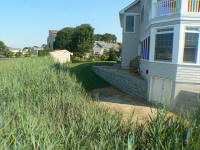
Block Retaining Walls
This photo shows the block retaining walls. This photo was
taken before the decks were built. |
