| |
|
Over the past 38 years, Don Cleaver has built, remodeled, or added additions to numerous residential and commercial buildings. Don has built custom homes ranging in value up to about $1,800,000. As he has done in the past, Don will work with you on fitting your ideas to your individual needs and desires.
Below are the
photos available of this building which are
organized into categories. If you would like to view
more of a particular area or room which you are
viewing, please click that photo or room label to be
forwarded elsewhere on this page to view more that that
particular area or room of the building. Once
forwarded, you may click any photo to view an enlarged
copy of that photo.
If you are
interested in learning more about these residential and
commercial buildings, feel
free to
Contact Us.
We will work with you on bringing your
dream home or commercial building to a reality.
A message from Don Cleaver:
“The homeowners of this new home tore down their prior
home after having it for sixteen years. This home
features copper roofs, about seven second floor bedroom
ceiling roof elevations and a sun room with numerous
windows to allow exotic plants to grow indoors. This
house was actually featured in Cambridge Magazine in
2011.” |

Don Cleaver in August of 2011 standing beside a fireplace he built
|
|
|
Below are
the photos of the
rooms listed above.
If you would like to enlarge a photo, please click on it. To save it,
please right click the photo and select Save.
|
Exterior |
|
Photo |
Location |
Description & Label |
 |
Front |
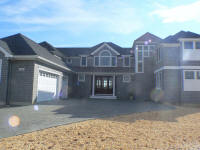
Door and Roof
The front door is an eight feet by eight feet mahogany door with
beveled glass panels. A copper standing seem roof is over the
porch and on the towers. |
 |
Front |
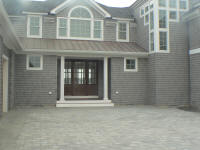
Door and Roof - (Repeat)
The front door is an eight foot by eight foot mahogany door with
beveled glass panels. A copper standing seem roof is over the
porch and on the towers.
|
 |
Front |
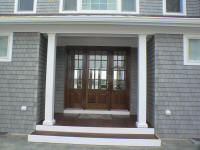
Door and Roof - (Repeat)
The front door is an eight feet by eight feet mahogany door with
beveled glass panels. A copper standing seem roof is over the
porch and on the towers.
|
 |
Front
|
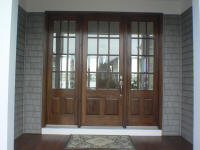
Door
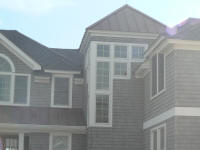
This mahogany door which is eight feet by eight feet and two
thirds glass. The door features a raised panel bottom. |
 |
Front
|
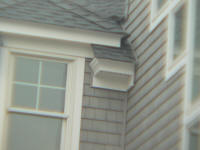
Tower
This pictured tower has casement windows and a copper roof. |
 |
Front
|
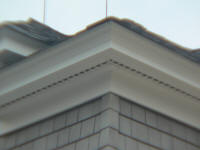
Fascia Board
Crown work was performed on the fascia board. |
 |
Front
|
Crown Molding and Siding
Crown molding was performed on the fascia board with freeze
boards. A vinyl siding was added with multicolor to look like
real cedar.
|
|
Before Construction |
|
Photo |
Location |
Description & Label |
 |
Front
|
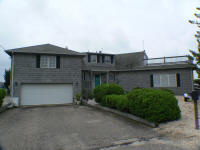
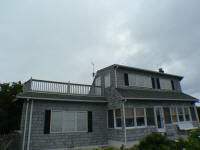
Before Construction
This is the existing house before its demolition. |
 |
Back |
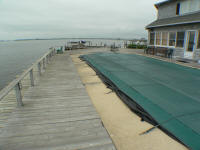
Before Construction - (Repeat)
This is the existing house before its demolition.
|
 |
Back |
Before Construction - (Repeat)
This is the existing house before its demolition. |
|
Kitchen |
|
Photo |
Location |
Description & Label |
 |
First Floor |
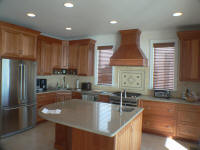
Cabinets
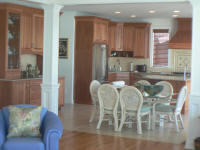
This is a custom designed kitchen. The cabinets are made of
eucalyptus wood. |
 |
First Floor
|
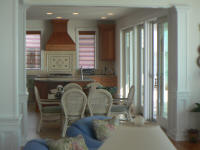
Cabinets - (Repeat)
This is a custom designed kitchen. The cabinets are made of
eucalyptus wood. |
 |
First Floor |
Cabinets - (Repeat)
This is a custom designed kitchen. The cabinets are made of
eucalyptus wood. |
 |
First Floor
|
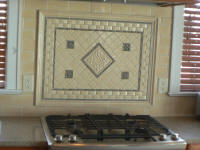
Stove and Backsplash
Pictured is a built in stove with a custom backsplash. |
 |
First Floor
|
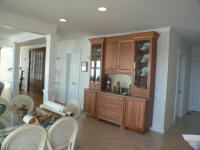
Cabinets
These cabinets are the serving cabinets made of eucalyptus wood. |
|
Foyer |
|
Photo |
Location |
Description & Label |
 |
First Floor
|
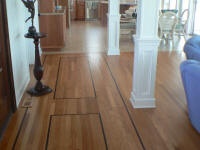
Floor
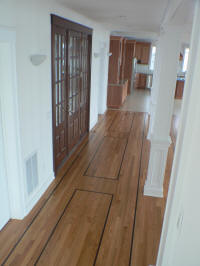
This foyer features inlayed (designed) floors with mahogany
strips. The floor creates a distinct separation from the living
room and the foyer.
|
 |
First Floor |
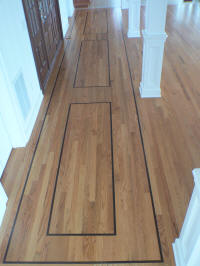
Floor - (Repeat)
This foyer features inlayed (designed) floors with mahogany
strips. The floor creates a distinct separation from the living
room and the foyer.
|
 |
First Floor |
Floor - (Repeat)
This foyer features inlayed (designed) floors with mahogany
strips. The floor creates a distinct separation from the living
room and the foyer.
|
 |
First Floor
|
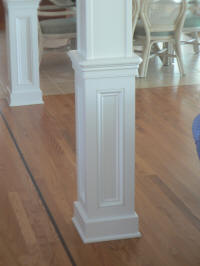
Paneled Columns
This is a custom designed column with trim panels.
|
 |
First Floor
|
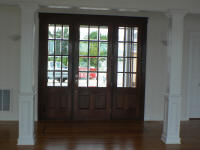
Door
This is the foyer's view of the mahogany door. This door is
eight feet by eight feet. It has raised panels, and two thirds
of it is glass. |
|
Bathroom |
|
Photo |
Location |
Description & Label |
 |
Second Floor |
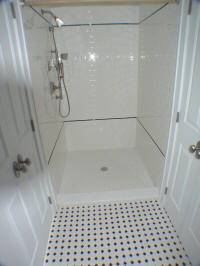
Shower
This shower was created with custom tile work. |
 |
Second Floor |
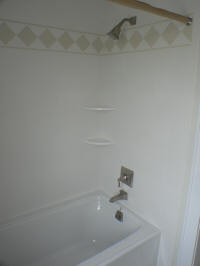
Tiles
This hallway bathroom has custom tile work. The tile design
wraps around the top of the shower. |
 |
Second Floor |
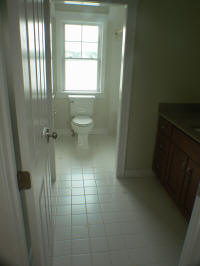
Toilet and Shower Area
This hallway bathroom has a toilet and shower area that is
separated from the vanity. |
 |
Second Floor
|
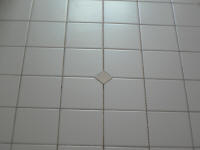
Tiled Floor
This photo is a close-up view of the tiled floor in the second
floor hallway. Tile designs are placed in the corner of the tile
sparsely placed throughout the floor. |
|
Living Room |
|
Photo |
Location |
Description & Label |
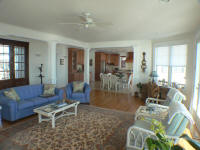 |
First Floor |
Oak Floors
This photo is of the living room with the kitchen in the
background. The hardwood floors are made of oak. |
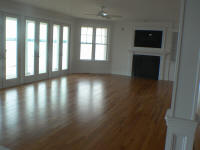 |
First Floor
|
Hardwood Floors
The pictured hardwood floors are made of oak. The fireplace and
bookcase is custom designed. |
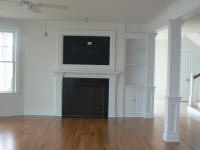 |
First Floor
|
Hardwood Floors - (Repeat)
The pictured hardwood floors are made of oak. The fireplace and
bookcase is custom designed. |
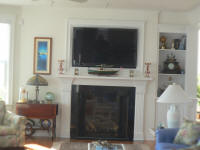 |
First Floor |
Fireplace and Bookcase
This
living room features a custom fireplace mantle with a built in
bookcase. The television is notched into the wall so that the
face of the screen is even with the sheetrock walls, and it also
has a picture frame that goes around the edge of the television. |
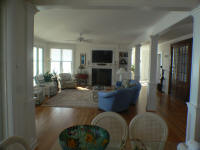 |
First
Floor |
Furnished Living Room
This is a view of the living room furnished from the kitchen. |
|
Plant Room |
|
Photo |
Location |
Description & Label |
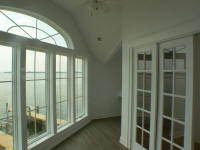 |
Second Floor
|
Window
This room is designed to act as a greenhouse with a high arched
window to allow ample sunlight in. The walls were sheet
rocked with water resistant sheetrock. |
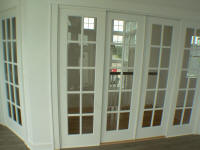 |
Second
Floor
|
Doors
French wood doors pocket into each other so there could be a
French wood look without losing the space of opening doors. |
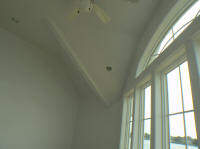 |
Second Floor
|
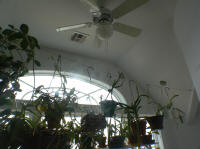
Window and Ceiling
Pictured is this room's large arch window to allow ample
sunlight in. The ceiling is a vaulted ceiling. |
 |
Second
Floor
|
Plants In Place
This is the greenhouse with plants in place.
|
 |
Second Floor |
Plants In Place - (Repeat)
This is the greenhouse with plants in place.
|
|
Stairwell |
|
Photo |
Location |
Description & Label |
 |
First Floor |
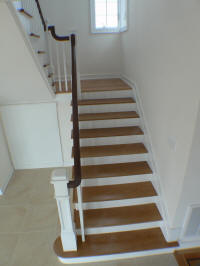
Steps and Handrail
These oak stairs have kicks which are painted white. This oak
hand rail is finished in mahogany to match the front door. |
 |
Second Floor
|
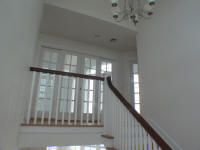
Plant Room
This picture was taken from the first floor looking towards the
second floor. These French wood doors lead to the plant room. |
 |
Second Floor
|
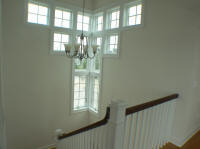
Tower Windows
This is a view of the second floor looking out the tower
windows. The plant room is behind the hand rails pictured. |
|
Sun Room |
|
Photo |
Location |
Description & Label |
 |
First Floor |
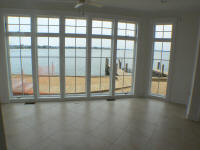
Windows
This sun room features large casement windows and transom
windows above. The windows go down to the floor. |
 |
First Floor |
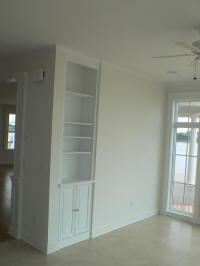
Cabinet
This is a custom cabinet that was built into the wall to add
extra display and storage for the owners. |
|
Hallway |
|
Photo |
Location |
Description & Label |
 |
Second Floor |
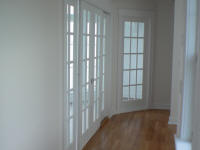
Doors
This is a picture of the French wood doors which lead to the
plant room. |
|
Construction Process - Demolition |
|
Photo |
Location |
Description & Label |
 |
Front |
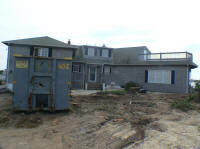
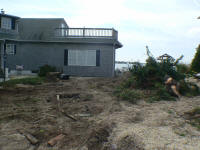
Before Construction
This is the existing home before it was demolished.
|
 |
Front
|
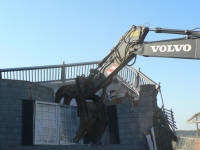
Before Construction - (Repeat)
This is the existing home before it was demolished.
|
 |
Front |
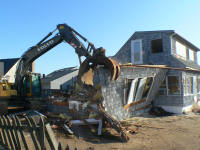
Demolition
This is a picture of the existing home being demolished. |
 |
Right Side |
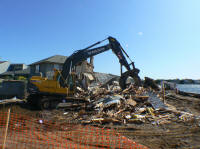
Demolition - (Repeat)
This is a picture of the existing home being demolished. |
 |
Front
|
Demolition - (Repeat)
This is a picture of the existing home being demolished.
|
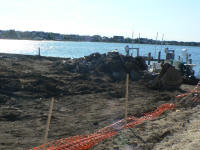 |
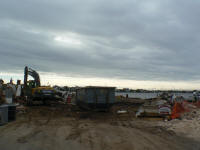
Front |
Demolition - (Repeat)
This is a picture of the existing home being demolished.
|
 |
Front
|
Demolition Complete
In this photo, the demolition crew has successfully torn
the building down. |
|
Construction Process -
Foundation |
|
Photo |
Location |
Description & Label |
 |
Front
|
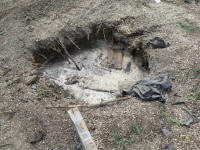
Dry Well
This picture shows a dry well that was uncovered during
demolition. This hole was dug and covered. It was discovered
during construction. |
 |
Front
|
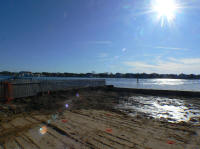
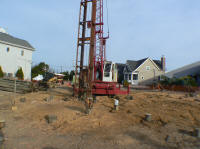
Property Ready
In this photo, the existing house has been demolished and the
property has been graded. The property is now ready for the pile
driver. |
 |
Back |
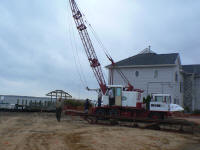
Pile Driver
In this stage, piles are driven into the ground to support the
foundation of the home. |
 |
Left Side |
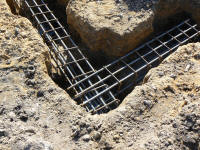
Pile Driver - (Repeat)
In this stage, piles are driven into the ground to support the
foundation of the home. |
 |
Foundation
|
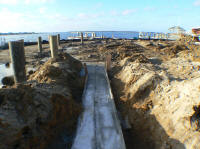
Steel Bars
Steel bars are installed in the grade beams to tie the footings
together.
|
 |
Foundation |
Footings
At this stage, the footings of the foundation are being poured.
|
 |
Foundation
|
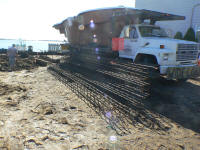
Steel Rods
These are the steel rods that are being prepared to be placed
into the foundation of the home. |
 |
Foundation
|
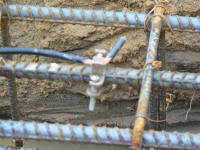
Ground Clip
This is a picture of a ground clip. A rod is driven into the
ground to keep the footings founded. |
 |
Foundation |
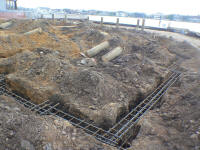
Steel Rods
Steel rods are installed, overlapped and tied together
continuously around the footings. |
 |
Foundation |
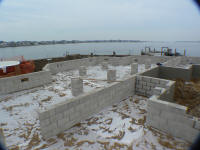
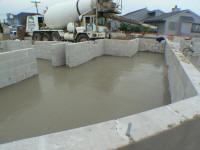
Vapor Barriers
Plastic vapor barriers were installed in the crawlspace before
the concrete slab was poured. |
 |
Foundation
|
Concrete Poured
In this stage, concrete is poured in the crawlspace. |
 |
Foundation
|
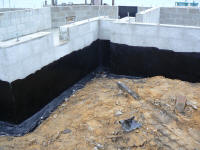
Tar
Tar is placed on this foundation to make the block below the
grade damp proof. |
 |
Foundation |
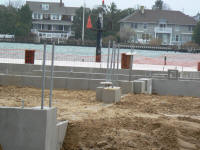
Grade
In this photo, the property is graded off after the foundation
is complete. |
|
Construction Process -
Frame |
|
Photo |
Location |
Description & Label |
 |
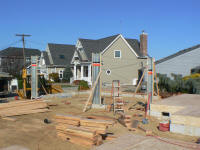
First Floor |
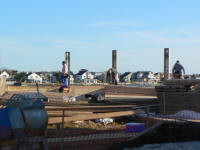
Wind Sheer Panels
This picture is of the wind sheer panels being put into place
before the frame starts. |
 |
First Floor |
Floor
This is the installation of the floor on the first story of the
home. This is three quarter inch tongue and grove plywood. |
 |
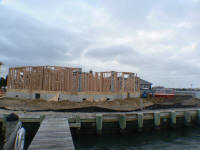
Back |
Frame
This is a view of the first floor's frame from across the river. |
 |
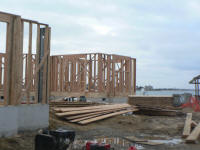
Back
|
Frame
This is the frame of the first floor.
|
 |
Back
|
Frame
- (Repeat)
This is the frame of the first floor.
|
 |
Back |
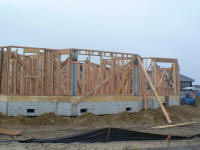
Frame
- (Repeat)
This is the frame of the first floor.
|
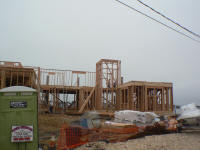 |
Back |
Frame
This is the frame of the first floor and the second floor being
developed above it. |
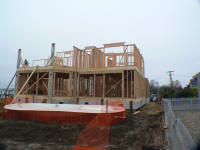 |
Back |
Frame and Pool
This is a frame of the first floor and the second floor frame
which is nearing completion. A one piece fiberglass pool is
being put in place as well. |
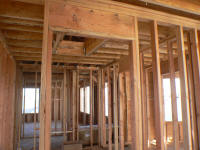 |
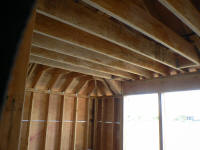
First Floor |
Frame
This is a picture of the interior frame in place on the first
floor. |
 |
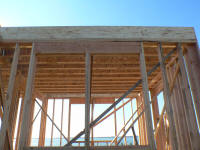
First Floor |
Frame - (Repeat)
This is a picture of the interior frame in place on the first
floor. |
 |
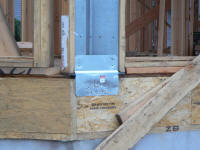
First Floor |
Frame - (Repeat)
This is a picture of the interior frame in place on the first
floor. |
 |
Back |
Frame
This is a view of the first and second floor frame from across
the river. |
 |
First Floor |
Sheer Wall Panels
This is a picture of the sheer wall panels.
|
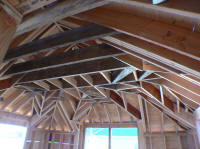 |
Second Floor |
Frame
This is the frame of the second floor bedroom ceiling.
|
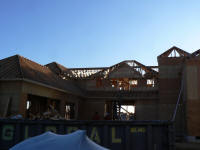 |
Front
|
Frame
This is the frame of the first and second floor of this home
nearing completion. |
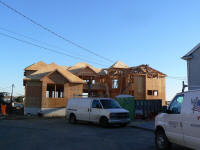 |
Front
|
Frame - (Repeat)
This is the frame of the first and second floor of this home
nearing completion. |
|
Construction Process -
Exterior |
|
Photo |
Location |
Description & Label |
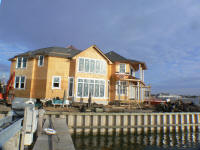 |
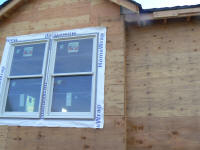
Back |
Plywood and Windows
At this stage, the plywood is on the building and the windows
have been installed. |
 |
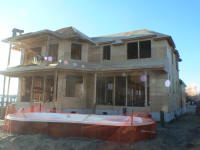
Right Side
|
Windows
This is a picture of the window installations with house wrap
around the windows.
|
 |
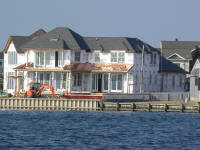
Back |
Plywood
At this stage, plywood is being installed on the roof. |
 |
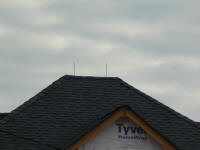
Back |
Windows, House Wrap, and Bulkhead
This photo was taken from across the water which shows the
windows installed, house wrap placed on the building and the
roof installed with a copper roof installed over the back porch. |
 |
Back |
Lightning Rod
This photo shows the installation of the lightening rod system
to protect against lightening strikes.
|
 |
Front |
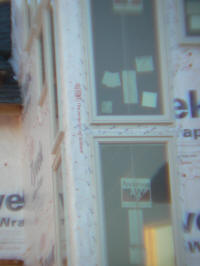
Windows and House Wrap
This photo shows this house's casement windows with the house
wrap installed around the house. |
 |
Front
|
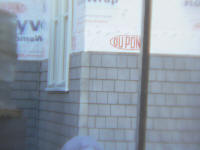
Siding
At this stage, the vinyl siding is being installed on the
exterior of the home. |
 |
Front
|
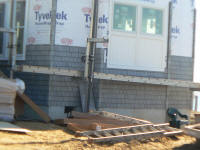
Siding and Panels
At this stage, the vinyl siding is being installed on the
exterior of the home. Azak panels are also installed under the
windows. |
 |
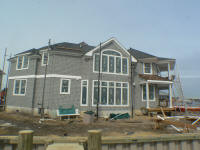
Back |
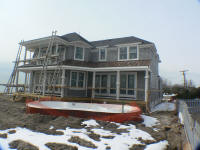
Siding
This photo shows the back of the home as the siding nears
completion.
|
 |
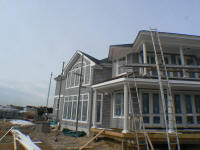
Back |
Siding - (Repeat)
This photo shows the back of the home as the siding nears
completion.
|
 |
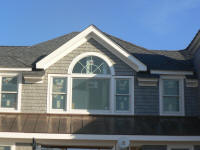
Back |
Siding - (Repeat)
This photo shows the back of the home as the siding nears
completion.
|
 |
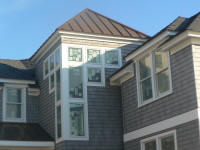
Front
|
Copper Roof
This photo shows
the copper standing seam roof over the front porch. |
 |
Front
|
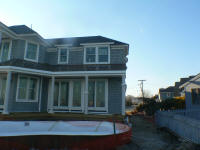
Copper Roof
This photo shows
the copper standing seam roof over the tower. |
 |
Back
|
Pool
This photo shows the one piece fiber glass pool before the deck
is installed. |
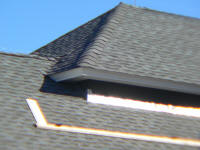 |
Front |
Roof
This photo of the roof shows crownwork installed on the facia
boards. |
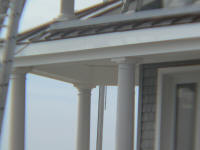 |
Back |
Columns
These finished fiberglass columns are installed at this stage on
the back deck.
|
|
Construction Process -
Kitchen |
|
Photo |
Location |
Description & Label |
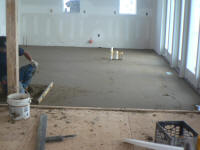 |
First Floor |
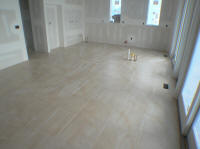
Mud Floors
This is a photo of the mud floors being installed before the
tiles are installed.
|
 |
First Floor |
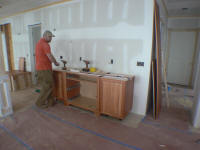
Tile Floor
This photo shows the installation of the tile floor in the
kitchen. |
 |
First Floor
|
Cabinets
At this stage, the cabinets are beginning to be installed in the
kitchen. |
|
Construction Process - Foyer |
|
Photo |
Location |
Description & Label |
 |
First Floor |
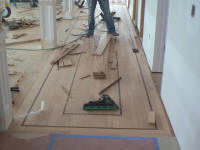
Inlayed Floor
This is a photo of the inlayed floor being installed with
mahogany strips.
|
|
Construction Process -
Bathroom |
|
Photo |
Location |
Description & Label |
 |
First Floor
|
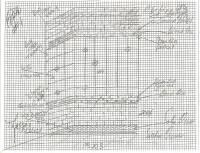
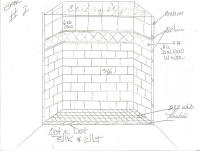
Preliminary Drawing
This is a preliminary drawing of how the bathroom was going to
be tiled for the installer to follow. The photo below is
the completed bathroom. |
 |
First Floor
|
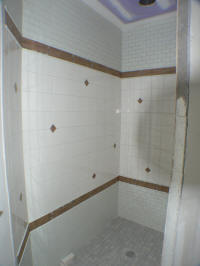
Tile
This bathroom was custom tiled. The photo above is the design of
how the bathroom will be completed. |
 |
Second Floor
|
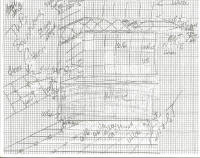
Preliminary Drawing
This is a preliminary drawing of how the bathroom was going to
be tiled for the installer to follow. The photo below is
the completed bathroom. |
 |
Second Floor |
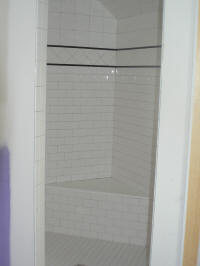
Shower
This is the guest bathroom with custom tile work and a built in
seat in the shower. The photo above is the design of how the
bathroom will be completed. |
 |
Second Floor
|
Preliminary Drawing
This is a preliminary drawing of how the bathroom was going to
be tiled for the installer to follow. The photo below is
the completed bathroom. |
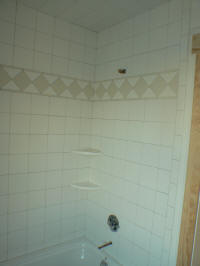 |
Second Floor
|
Tile Design
This is the second floor bathroom with a custom tile design in
the shower.
The photo above is the design of how the bathroom will be
completed. |
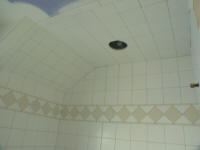 |
Second
Floor |
Tile Design - (Repeat)
This is the second floor bathroom with a custom tile design in
the shower.
The photo above is the design of how the bathroom will be
completed. |
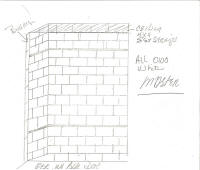 |
Second Floor
|
Preliminary Drawing of the Master Bathroom
This is a preliminary drawing of how the master bathroom was
going to be tiled for the installer to follow. A photo of the
master bathroom is available at the top of this page. |
|
Construction Process -
Living Room |
|
Photo |
Location |
Description & Label |
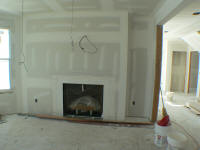 |
First Floor |
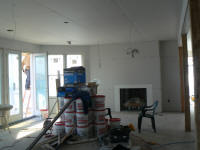
Fireplace
In this photo, the fireplace is in the sheetrock stage. |
 |
First Floor
|
Sheet Rock
This is a photo of the house sheet rocked before it was
spackled. |
|
Construction Process -
Plant Room |
|
Photo |
Location |
Description & Label |
 |
Second Floor
|
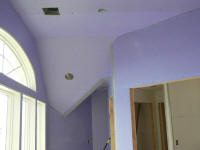
Sheetrock
This photo shows the moisture resistant sheetrock which is
installed due to this being a plant room. |
 |
Second Floor
|
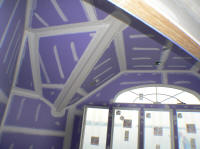
Sheetrock - (Repeat)
This photo shows the moisture resistant sheetrock which is
installed due to this being a plant room. |
 |
Second Floor
|
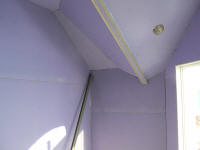
Sheetrock - (Repeat)
This photo shows the moisture resistant sheetrock which is
installed due to this being a plant room. |
 |
Second Floor
|
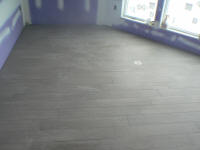
Tiled Floors
This is a picture of the tiled floors in the plant room.
A drain is installed as well. A large fiberglass pan is
installed under this tiled floor to prevent the water from
getting to the first floor. |
|
Construction Process - Sun Room |
|
Photo |
Location |
Description & Label |
 |
First Floor
|
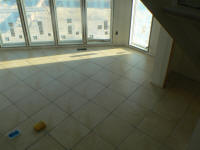
Tile Floors
At this stage, the tile floors were just installed in the sun
room. |
|
Construction Process -
Hallway |
|
Photo |
Location |
Description & Label |
 |
Second Floor
|
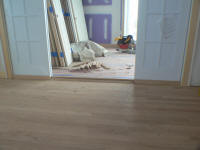
Hardwood Floors
At this stage, hardwood floors are being installed at the
entrance of the plant room.
|
|
Construction Process -
Bedroom |
|
Photo |
Location |
Description & Label |
 |
Second Floor
|
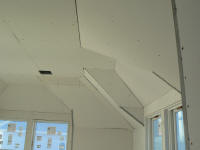
Ceiling
This photo shows the sheet rock ceiling installed before they
were spackled. |
|
|
|
Facebook Fan's Comments
|
|
|
|
"There is no doubt when we require additional construction work, you will be the first person we will call." -Bob and Ruth McEntee
"Your ideas on the interior of the house including trim, kitchen layout and cabinetry were excellent..." -John Wojie
"Listening to other of our friends who have had construction woos, I realize your promptness in completing the project on time, and within cost, is something that is unusual." -Bob and Ruth McEntee
"Your suggestions for initial modifications, willingness to make changes and suggestions for enhancements as we progressed in the construction along with the reasonableness in costing change orders, must be unparalleled in the construction industry." -Bob and Ruth McEntee
"When we started demolition we did not realize we would be fortunate enough to make a new friend. We hope you will not be a stranger now that work is 'complete.'" -Peg and Rich Lazarchic
"It was a pleasure working with you and your staff..." -John Wojie
"When a major job such as ours is completed, and we consider you a friend, not a supplier of services or adversary, says a great deal about the kind of person you are." -Bob and Ruth McEntee
"You have taken our 'before' house and by listening to our dreams, you have created the 'after' home we knew this building could be. We thank you for making the renovation experience one that was fun and rewarding." -Peg and Rich Lazarchic
"Although we had an excellent architectural plan, your recommendations for reframing and other structural adjustments to the plan improved the final layout and enhanced both the living space and the value of the house." -John Wojie
"...the respect your sub contractors and suppliers have to you is remarkable." -Bob and Ruth McEntee
"I would whole heartedly recommend your company to anyone considering building a new house or remodeling an existing home. Everyone who has seen the house has been extremely complementary." -John Wojie
"Everyone who has seen [my] house has been extremely complementary." -John Wojie
"From the time we first met to review your bid and the architects plans, there was no doubt you had the vision we needed to renovate (effectively rebuild) our home." -Bob and Ruth McEntee
|
|
|
|
|
|
